Quick Answer: John Muir Laws teaches drawing as a tool for deeper observation — you sketch birds not to make art, but to truly see. His method starts with basic shapes and proportions before any detail, and it works whether you’ve never held a sketchbook or you’ve been birding for decades. The Laws Guide to Drawing Birds (2012) is your starting point.
If you’ve searched “how to draw birds John Muir Laws,” you’re probably less interested in making pretty pictures and more interested in actually seeing birds better. That’s exactly the right instinct, and it’s the core of what Jack Laws teaches.
The John Muir Laws Bird Drawing Method: What It Is and Why It Works
Observation First, Art Second
The Laws method is observation-first drawing. You’re not learning to draw so you can make art — you’re drawing because it forces your brain to commit to specific observations. What color is that breast, exactly? Where does the wing end relative to the tail? You can’t fake those answers when your pencil is on paper.
Laws calls this “learning to see,” and it’s why his approach resonates with birders, naturalists, and scientific illustrators alike. The drawing is the observation, not a record of it.
Who Is John Muir Laws?
Jack Laws is a naturalist, author, and scientific illustrator based in the San Francisco Bay Area. He’s best known for The Laws Guide to Drawing Birds (2012) and his broader nature journaling philosophy, taught through workshops, a YouTube channel, and his website. His background spans field ornithology and scientific illustration — that combination of rigorous accuracy and accessible technique is what sets his curriculum apart from a standard art class.
How to Draw Birds the John Muir Laws Way: Shape, Proportion, Detail
Start With Two Shapes
Every bird Laws draws starts the same way: a body oval, then a head circle. No bill, no eye, no feathers — just two shapes and the relationship between them. This forces you to nail the head-to-body size ratio before you get pulled into details.
Most beginners skip this step and end up with a bird that looks vaguely wrong but they can’t explain why. It’s almost always the proportions. Laws’s two-shape foundation fixes that.
Build Proportions Before Adding Detail
Once your two shapes are placed, Laws works through a checklist of secondary proportions:
- Bill shape and length — Conical seed-cracker (Dark-eyed Junco, Junco hyemalis)? Thin insect-prober (warbler)? Hooked raptor bill (Red-tailed Hawk, Buteo jamaicensis)? Long, decurved nectar bill (hummingbird)?
- Tail length — Short and stubby, or long and graduated?
- Wing projection at rest — How far does the wingtip extend past the tail base? This separates similar species more reliably than most field marks.
- Leg length and foot structure — Perching feet look nothing like wading feet or climbing feet.
None of this requires artistic talent. It requires careful looking, which is the whole point.
Fix the Two Most Common Beginner Mistakes
The errors Laws sees most often are oversized heads and misplaced eyes. Beginners draw the eye too high and too centered. In reality, the eye sits in the upper third of the head, and it’s usually closer to the bill than you’d expect. Move your eye placement down and forward — the bird will look more correct almost immediately.
Six Teaching Species and What Each One Teaches
Laws uses six species repeatedly as drawing subjects. Each one isolates a specific challenge.
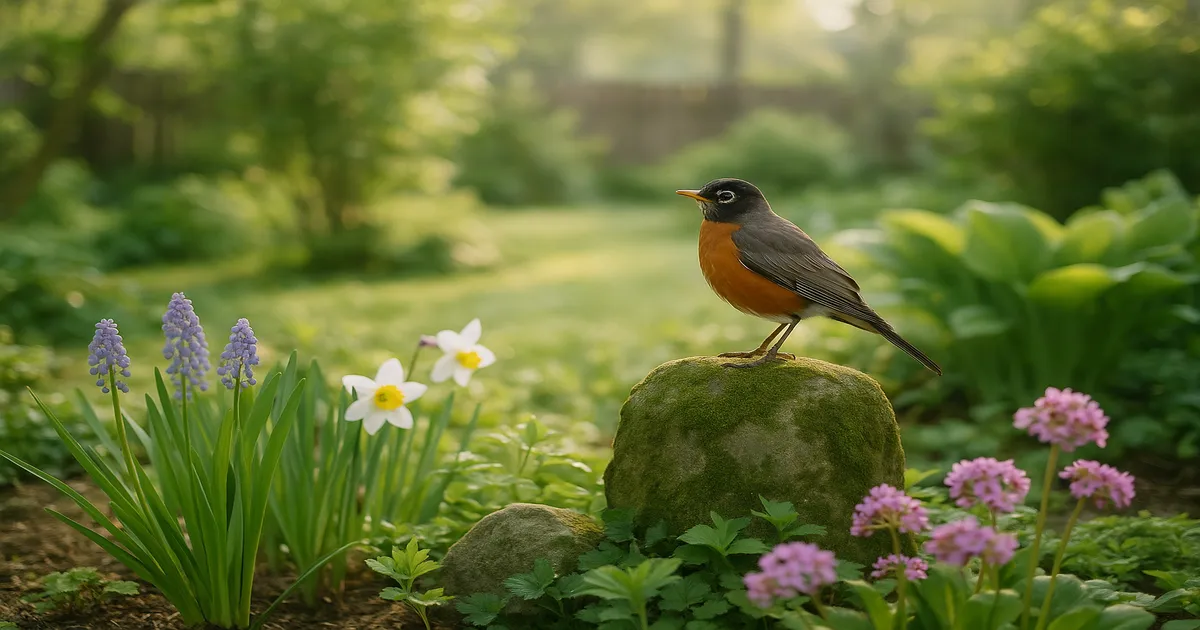
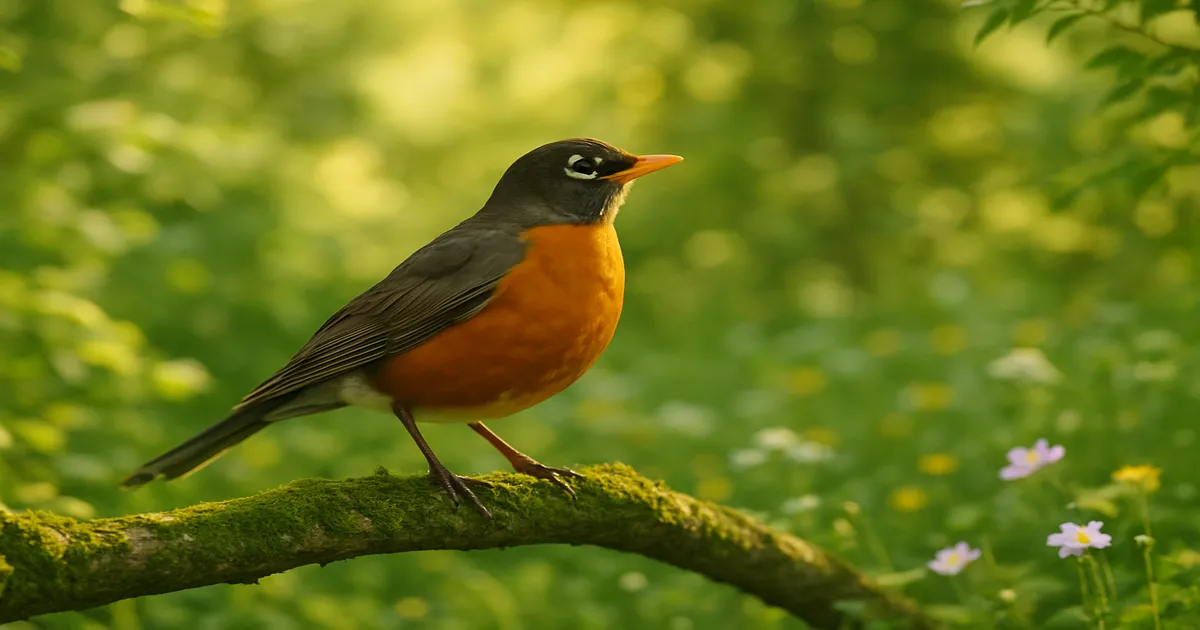
American Robin (Turdus migratorius, ~10 in / 25 cm) — Bold color zones make it ideal for beginners practicing color blocking. The brick-orange breast, dark gray-black back, broken white eye ring, and yellow bill are distinct and easy to separate. Female Robins show a paler orange breast and browner head; juveniles are spotted below and look almost like a different species. Drawing all three teaches tonal variation and challenges your assumptions.
Dark-eyed Junco (~6.25 in / 16 cm) — The Oregon form (common in the West) has a dark hood, rusty-brown back, white belly, and pink bill. The Slate-colored form (East and North) is uniform dark gray above with white below. The teaching moment: white outer tail feathers are largely invisible when the bird sits, but flash brilliantly in flight. Sketching a Junco mid-hop forces you to study motion field marks — features that only appear when the bird moves.
Steller’s Jay (Cyanocitta stelleri, ~11.5 in / 29 cm) — Black crested head, brilliant blue wings and tail, faint blue forehead streaking. Laws uses it to teach iridescent structural color (the blue shifts with viewing angle) and the crest as a mood indicator. A relaxed Steller’s Jay holds its crest low; an alert or agitated bird raises it fully. That single angle change transforms the gesture of the whole drawing.
Anna’s Hummingbird (Calypte anna, ~3.9 in / 10 cm) — The male has an iridescent rose-red gorget and crown; the female is green-backed with gray underparts and a variable red throat patch. When hovering, the bird faces you directly, creating dramatic foreshortening. Laws’s instruction here is counterintuitive: don’t draw the wings, draw the blur. Capturing the impression of speed is more accurate than a frozen anatomical diagram.
Red-tailed Hawk (Buteo jamaicensis, ~19 in / 48 cm, wingspan ~49 in / 124 cm) — Adults show a brick-red upper tail, dark patagial bars on the leading underwing edge, and a pale belly with a dark belly band. Immature birds lack the red tail entirely and show a banded brown tail instead — it takes roughly three years to develop full adult plumage. Laws uses this species to teach soaring silhouettes (broad, rounded buteo wing versus pointed accipiter wing) and age-related variation simultaneously.
California Scrub-Jay (Aphelocoma californica, ~11.5 in / 29 cm) — Blue head, wings, and tail; gray-brown back; white supercilium; white throat; and a distinctive blue necklace across the chest. No crest — which beginners sometimes add after drawing Steller’s Jays. The plumage is essentially geometric: clean blocks of color with defined edges. Laws uses it for color-blocking practice before introducing fine detail.
Behavior, Gesture, and Habitat: The Ecological Layer
Sketch What the Bird Is Doing
A bird standing still is the least interesting subject. Laws argues that behavior is where the drawing comes alive. Each species has characteristic postures worth studying:
- Robin — The run-stop-tilt sequence on lawns. The head tilt is visual, not auditory (the “listening for worms” story is a myth). Sketch the tilted head and you’ve captured the whole behavior.
- Junco — The double-scratch: both feet kick backward simultaneously in leaf litter.
- Steller’s Jay / Scrub-Jay — Scatter-hoarding acorns, using their feet to pin food while hammering with the bill.
- Anna’s Hummingbird — The male’s dive display covers roughly 130 feet (40 m) of climb followed by a ~60 mph (97 km/h) stoop, with an explosive chirp at the bottom produced by the tail feathers. You won’t sketch it in real time, but you can sketch the arc.
- Red-tailed Hawk — Long, motionless perch-hunting from utility poles, then kiting into the wind before a stoop. The stillness before the strike is its own drawing subject.
Habitat as Data, Not Decoration
Laws is explicit: habitat in your sketch is not decorative. It’s data. A Junco on a snowy branch tells you winter, lowland habitat. A Steller’s Jay in a pine tells you montane coniferous forest. Juncos breed high and winter low — drawing one in a snowy suburban yard versus a mountain meadow tells completely different ecological stories. Anna’s Hummingbird is expanding its range northward as winters warm, a detail worth noting in your journal.
Seasonal and Molt Accuracy
Laws teaches molt because a drawing has to be accurate to a specific moment in time. A Robin in July looks noticeably duller than one in April — worn summer feathers look washed out before the post-breeding molt (July–September) produces fresh plumage. Draw a bright Robin in August and you’ve made a factual error.
Anna’s Hummingbird males acquire their full iridescent gorget by their first winter. Before that, juveniles resemble females. If you’re sketching at a winter feeder and giving every Anna’s a full red gorget, you’re probably getting some of them wrong.
Immature Red-tailed Hawks are the most instructive case. Given that most Red-tails you encounter are immatures or subadults, knowing the banded brown tail isn’t optional — it’s basic accuracy.
Setting Up Your Practice: Materials and the Journaling Framework
Keep the Gear List Short
Laws is skeptical of gear obsession, and he’s right to be. You need:
- A waterproof sketchbook (Rite in the Rain All-Weather Hardcover Journal)
- Pencils in a range of hardness (HB to 4B)
- A travel watercolor set (Winsor & Newton Cotman Sketching Pocket Box)
- A field guide for your region — for Pacific Coast birds, Laws’s own The Laws Field Guide to the Sierra Nevada is excellent; for broader North America, the Sibley or Kaufman guides work well
A sketchbook and a single pencil will take you further than any expensive setup.
The ‘I Notice, I Wonder, It Reminds Me Of’ Framework
This is Laws’s signature observation tool. Before or while you draw, write three things:
- I notice — a specific, factual observation (“the eye sits in the upper third of the head”)
- I wonder — a genuine question (“are the white tail feathers visible from behind during a ground hop?”)
- It reminds me of — a connection to something you already know (“like a sparrow, but the bill is thicker”)
This keeps your brain in active observation mode rather than passive recording mode. It also generates questions that send you back to the bird for a second look — which is exactly the point.
Use Feeders as Your Drawing Lab
A feeder gives you a stationary, repeatedly-visiting subject. Here’s how to set up for the teaching species:
- Juncos — Ground or platform feeders with millet or cracked corn; they won’t use tube feeders
- Steller’s Jay and Scrub-Jay — Platform feeders with peanuts in the shell; they’ll return constantly
- Anna’s Hummingbird — Nectar feeders with a 4:1 water-to-white-sugar ratio; no red dye
Position your feeder close to a window. The closer you are, the more detail you can observe without binoculars.
Books and Free Resources
- The Laws Guide to Drawing Birds (2012) — start here; it’s structured as a curriculum, not a coffee table book
- The Laws Guide to Nature Drawing and Journaling (2016) — worth reading next if you want to extend the method to plants and landscapes
- Laws’s YouTube channel — free tutorials covering the same species and techniques; watching him build a bird from two shapes in real time makes the written instructions click
- naturejournalclub.com — workshop schedules, journaling resources, and community pages
Frequently Asked Questions About Drawing Birds the John Muir Laws Way
What is the best John Muir Laws book for learning to draw birds?
The Laws Guide to Drawing Birds (2012) is the one to start with. It’s structured as a step-by-step curriculum rather than a showcase of finished illustrations, so it actually teaches you the process. His The Laws Guide to Nature Drawing and Journaling (2016) is the natural follow-up if you want to extend the method beyond birds.
Do you need drawing experience to use the John Muir Laws method?
No — and Laws is emphatic about this. The foundational skills (body oval, head circle, proportion checking) are mechanical, not artistic. Your first sketches will be rough. That’s not failure; that’s the process working.
How does drawing birds improve field identification?
Drawing forces you to make specific commitments about what you’re seeing. You can’t sketch a bird without deciding exactly where the eye sits, how long the bill is relative to the head, and where the wing ends. Those decisions build precise visual memory that makes field identification faster and more reliable over time.
Can the Laws method be used for birds outside California?
Completely. Laws teaches primarily in California, which is why Pacific Coast species dominate his examples. But birders in Ohio, Scotland, and Japan use the same framework with their local species. The principles don’t change; only the birds do.
Is the John Muir Laws YouTube channel worth watching before buying the book?
Yes — start there if you’re unsure. The videos are free, genuinely instructive, and not just promotional clips. Watching Laws build a bird from two shapes in real time makes the proportion-checking process much clearer than reading about it. Once you’ve watched two or three videos, the book will make more sense and you’ll use it more effectively.